
Geekvape is one of the older and most popular vape brands. It is known for its versatile and all-in-one vaping devices that are highly durable. Apart from the ruggedness and durability Geekvape devices also offer some amazing features. One of Geekvape’s best devices is the H45 and its features can be complex for new users. So, in this guide we will discuss geekvape h45 how to use process.
Geekvape H45 Basic Overview
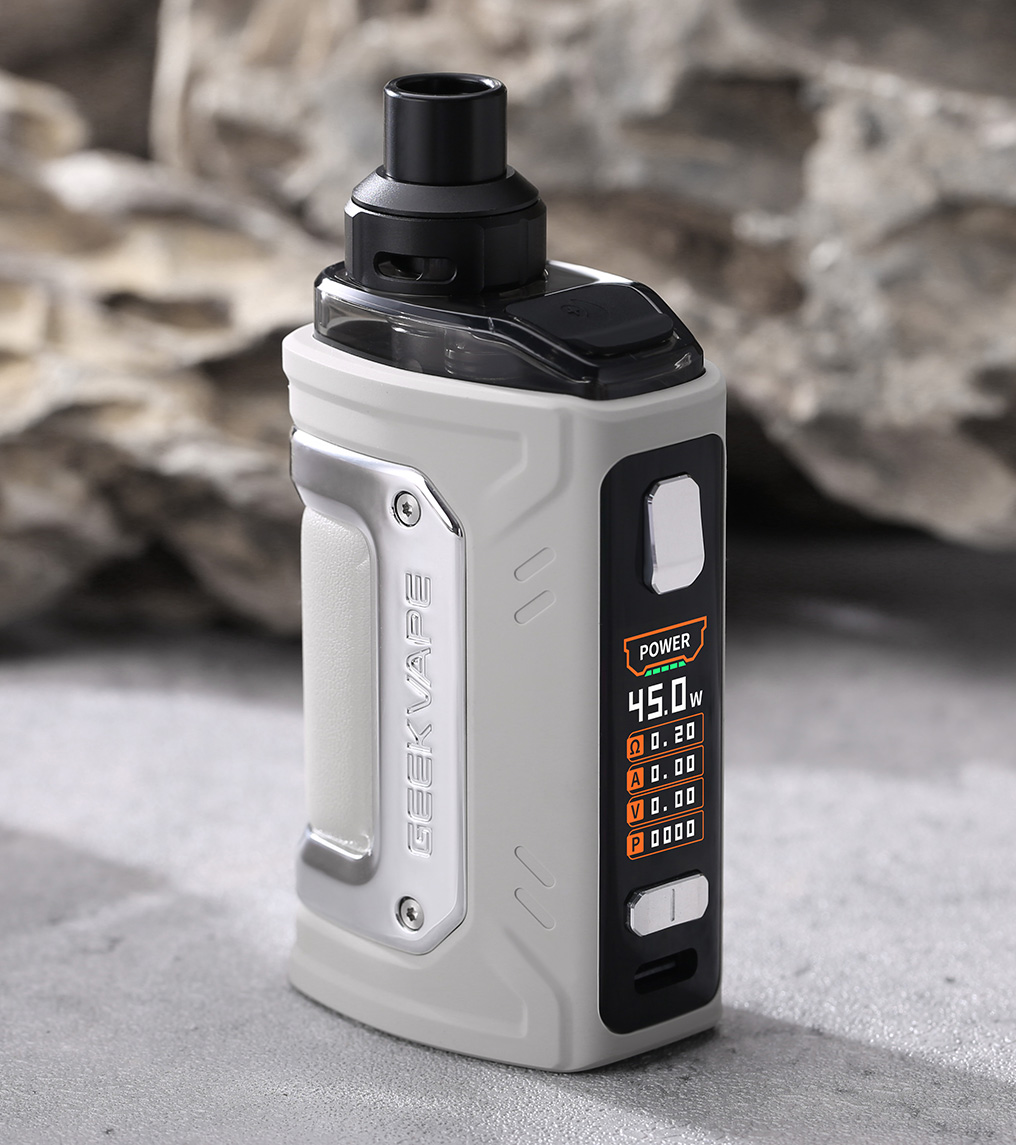
Geekvape H45 is a sleek, stylish, and beginner-friendly device that is built to last. Unlike other devices, it is neither too simple such that it offers no control nor is it very complex and overwhelming. The H45 from Geekvape offers the best combination of control and features.
It is designed by following modern design standards so it brings all the necessary features that you may look for. The device itself is compact and convenient to hold in your hands while it packs a lot of power and long-lasting battery life.
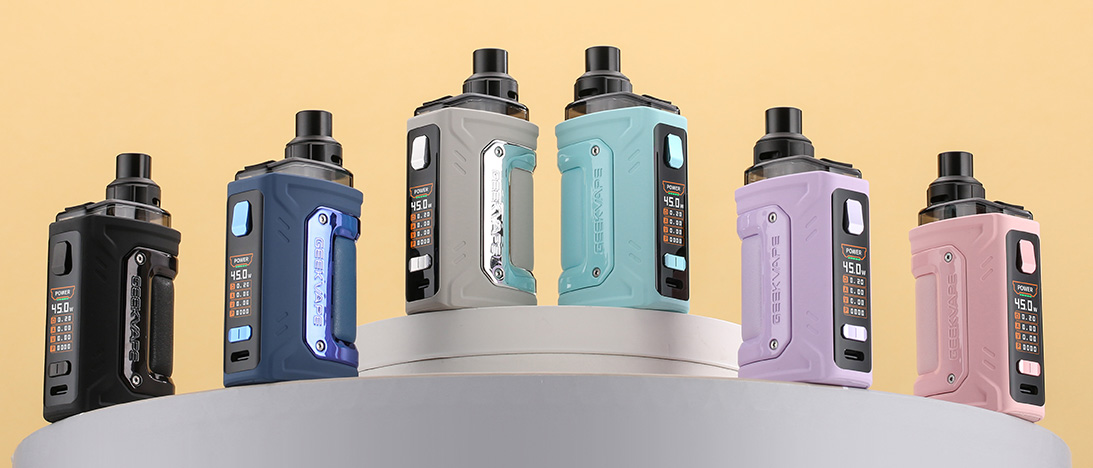
Geekvape has designed the H45 pod mod kit to provide users with a completely customizable experience whether it is about the wattage or temperature of smoke or the smart screen of their device. Lastly, it comes in a variety of classic and vibrant shades to meet everyone's requirements.
Features
Speaking of features, the H45 is packed with lots of features that users love about it. Here is the list of some of the best features that come in Geekvape H45:
Ultra-light design
Top airflow for a leak-proof design
6 different colors
Buck-boost technology for stable output
Variable wattage and bypass mode
Airflow adjustment option
Spare drip tip is available
Customizable user interface
Specifications
Geekvape H45 is designed with a balanced user experience in mind that meets the needs of multiple users. Below is a detailed list of all the technical specifications of the H45:
Battery capacity: 1400 mAh built-in
Charging current: 5 volts 2 amps
Display screen: 0.96 inches TFT display
Maximum output: 5 watts to 45 watts
Resistance range: 0.1 ohms to 2 ohms
Pod capacity: 4ml with the standard package
Coil compatibility: Geekvape B Series
Water and Dust resistance rating: IP68 rating
Geekvape H45 How to Use? Setup Guide
Using the Geekvape H45 is a simple experience that starts with a basic setup. Setting this device involves preparing your atomizer by inserting the coil of your choice in the pod and filling it up.
When you open the box of your Geekvape H45 you will get its atomizer assembly and coil. You will take the coil and push-fit it into the bottom of the pod. Now remove the silica gel from the pod and fill it with your e-juice using the top filling slot. It is important to fill the pod to at least 2/3 level.
Leaving your pod for 5-20 minutes will be enough to let the coil prime and then it will be ready for usage.
Usage Instructions on Geekvape H45 How to Use
Now that your H45 is ready for usage with its atomizer unit ready, let's learn the steps for using the vape and its modes. Here are steps on geekvape h45 how to use.
Turning Your Vape on and Off
After your coil has primed, you can insert the pod into the mod by pressing it inwards from the top. Now you may turn on your device by clicking the fire/power button 5 times quickly within 2 seconds. As the device turns on it will start showing the start-up display on the screen.
The Geekvape H45 does not come with a draw activation sensor meaning it will not fire automatically. So, you can use it by holding the fire button while vaping.
Airflow Adjustment
Your Geekvape H45 also supports airflow adjustment that allows you to switch between a Direct-to-lung mode and a Restricted-direct-lung mode. Airflow adjustment is very simple, and you can adjust it to match your vaping experience.
The top part of the pod rotates, and it has air inlet holes on the sides. Rotating this part will increase or decrease the area for the air inlet. So, if you want to adjust airflow, simply rotate the pod top section and get your perfect mix of air and flavor.
Mode Setting And adjustment
The Geekvape H45 allows users to select between a power mode and a bypass mode. You can switch between these modes by pressing the fire button 3 thrice quickly within 2 seconds. Now you will be in the mode settings where you may switch modes using the + and – buttons.
To select and finalize a mode you will hold the fire button for 1 second and the device will exit the settings menu.
· Bypass Mode
The bypass mode means that the voltage output to the coil from your vape will be equal to the maximum battery voltage while the output current will be limited.
· Power Mode
In the power mode, you can control the wattage or current of the coil with no control over the voltage provided to the coil. In power mode, you may click the + and – buttons to increase or decrease the wattage by intervals of 0.5 Watts per click.
Using Other Smart Features of the Geekvape H45
Puff Clear
Geekvape H45 has this feature where it keeps track of your vaping puffs. You can clear the puff counter after refilling the pod or after recharging the battery to keep track of how many puffs you can make in one interval.
To use the puff clear feature, you will press the fire button 3 times quickly to open settings and go to the puff clear option. Press the – button and it will clear the puff counter and reset it to 0.
Locking and Unlocking Its Buttons
Another amazing feature of the Geekvape H45 is that it allows users to lock buttons. Thus, it prevents accidental changes and operation of the vape.
· + and - Buttons
These buttons are used for changing the wattage of your vape. If you want to stick to one wattage and don't want accidental changes, then locking these buttons will be helpful. Locking these is very simple where you press these two together and the locked status appears on the screen.
Remember that doing this will only lock the + and – buttons and you must lock the power button separately.
· Power Button
Locking the power button is vital for cases when you are putting your vape in a bag or your pocket. It is because when something in there accidentally clicks the button, your vape will start firing and there are chances of burning the coil.
So, you can press the power button 3 times quickly and after locking the + & - buttons. It will show the status that your fire is locked. You can unlock the fire button in the same way.


Leave a comment